PROJECT DETAILS
Rod Cap - 3D Scanning and Fusion 360 Modeling
This project involved using 3D scanning to capture the physical geometry of the rod cap, and then refining and designing the final model using Autodesk Fusion 360. The goal was to create a highly accurate and functional rod cap based on real-world dimensions.
PROCESS
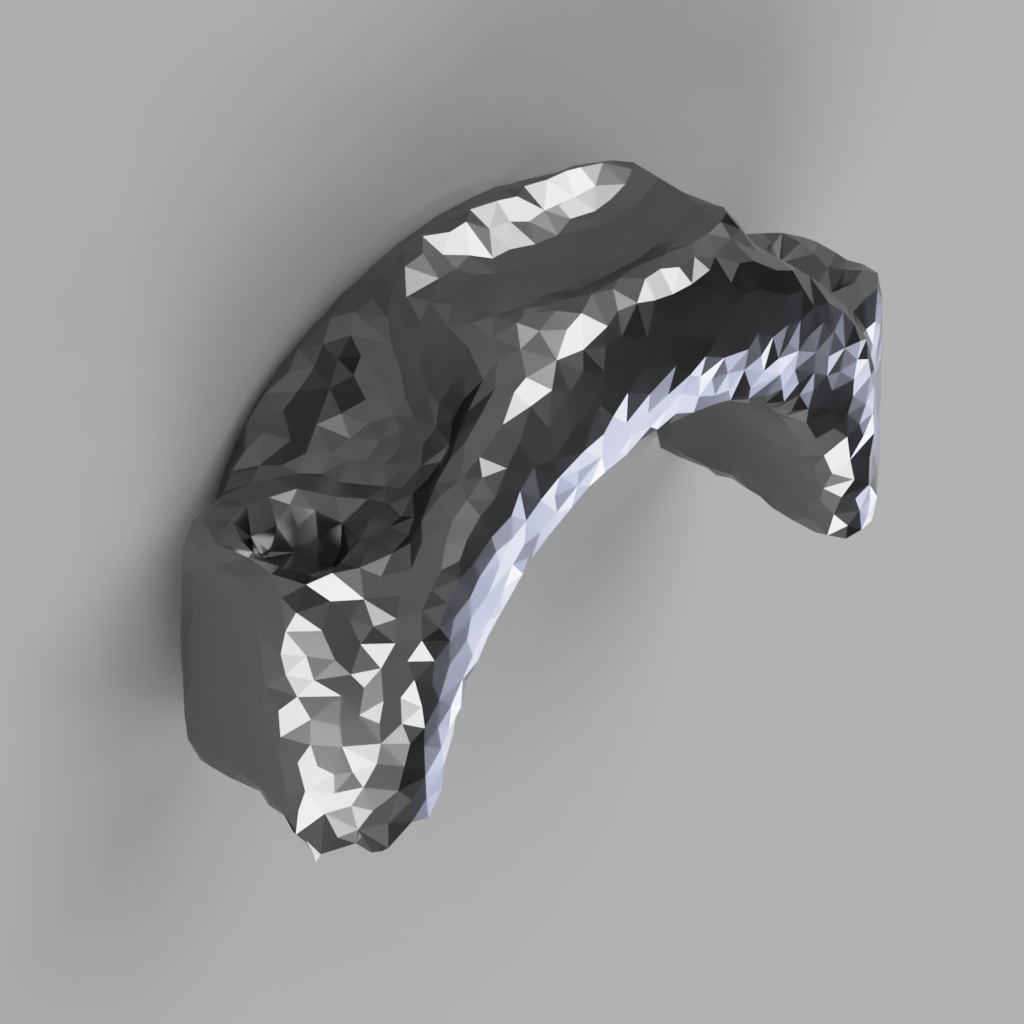
The first step involved using a 3D scanner to capture the exact geometry of the rod cap, providing a digital model for reference. The scan was detailed, ensuring all physical features were captured.
Next, the scanned model was imported into Fusion 360, where I used it as a reference to create the final rod cap design. Tools like sketching, extruding, and sculpting were used to refine the geometry while maintaining the original measurements.
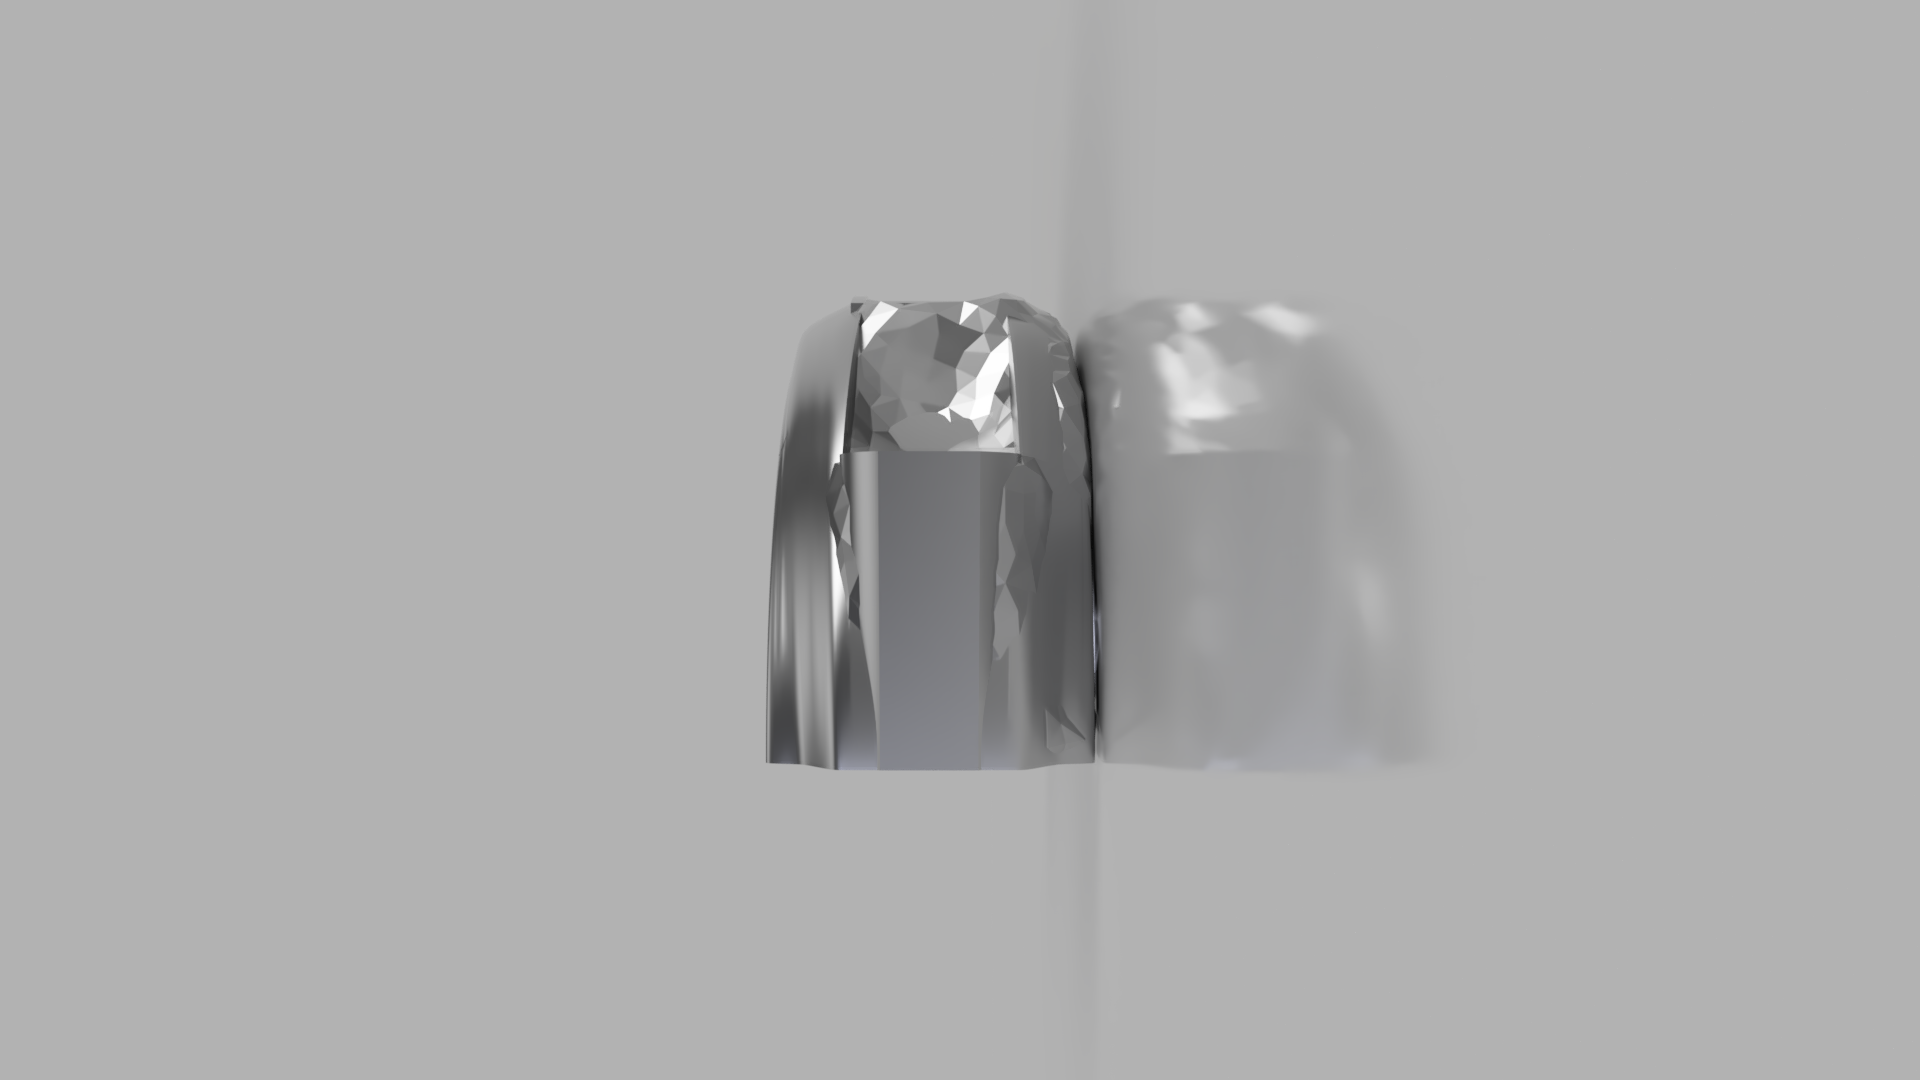
Using Fusion 360’s tools, I refined the geometry by adjusting the shape and ensuring that the proportions were accurate. With the design in place, I checked the rod cap's fit and alignment in 3D space for any adjustments.
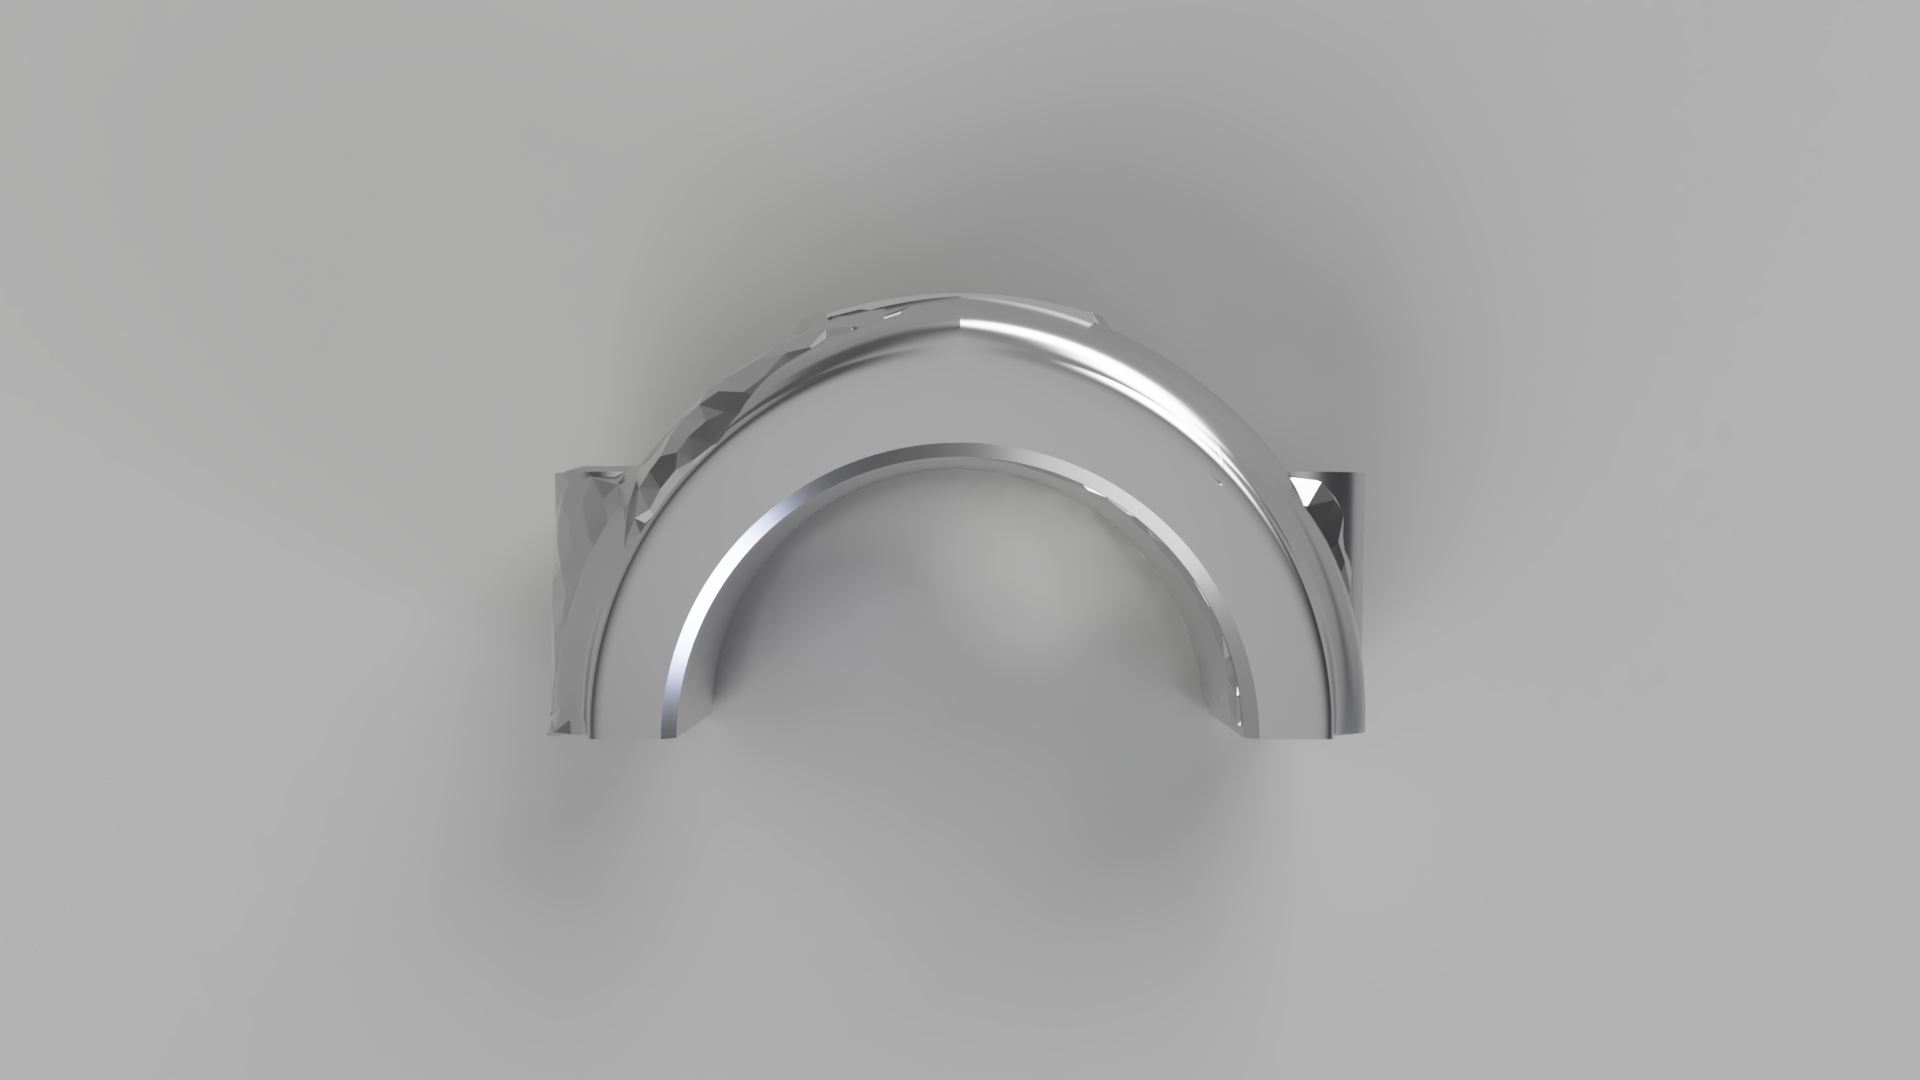
Once the model was complete, I used Fusion 360’s rendering tools to visualize how the rod cap would look in the real world. The model went through several iterations to ensure both functionality and aesthetics were achieved.
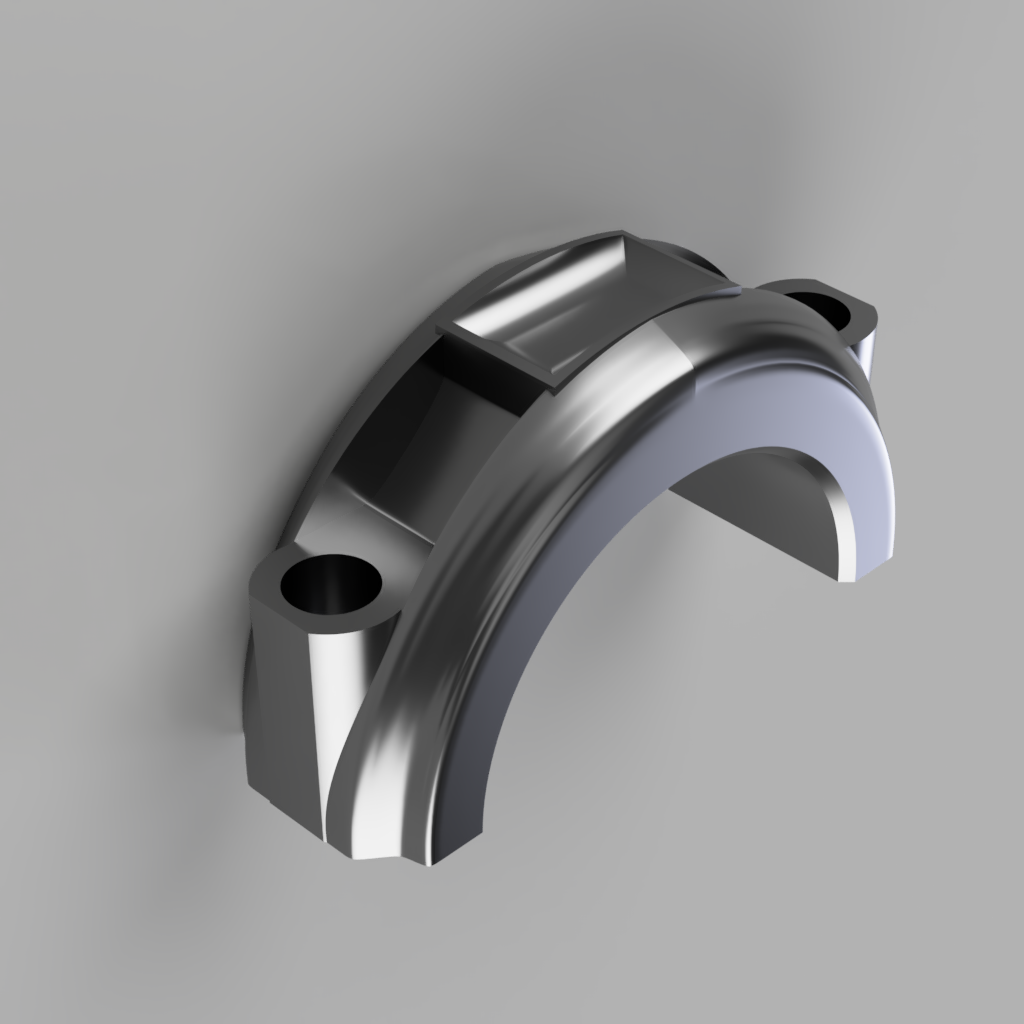
This process helped in achieving a highly precise and customized rod cap, which now serves as a fully validated design ready for manufacturing.
Built with Reflex